


Since you are here, I can say that you are willing to start your blog. Right?
Well, that’s great news!
However, like any other person, you will be having never-ending doubts!
Where to begin?
Do I need a website? Is coding knowledge necessary? And what not.
This all can be overwhelming, and it is totally fine to be but don’t worry, this article will answer all your questions one by one, and by the end of this article, you will be all loaded to get your blog started.
So, without any further ado, let’s begin and while we are getting on the blogging train, let’s understand this first.
What is a Blog?
What do you mean when you say the word Blog?. Do you imagine a website? Do you imagine a blogger account? Well, both are blogs, but “blogs” in general have a much deeper understanding than this.

If we go by the definition, a blog is a type of website, but the only difference is that blogs are frequently updated with content and is displayed in reverse chronological order.
A traditional website is static and does not undergo much updating. On the other hand, blogs are frequently updated with content, and that is what that makes them a dynamic. This updating can be weekly, daily or even multiple times a day too.
It is not necessary that a blog has to be a separate stand-alone website. Many companies and businesses have a blog section where they regularly publish content to educate or to engage their users.
If I have to put it in simple terms…
Every blog is a website, but all websites are not necessarily blogs.
Further, blogs always have a topic that the author(s) talks about. The blogs are mostly specific and revolve around the same topic, but it does not need to be certain and can have a broader reach as well.
For example, the blog you are reading mostly revolves around WordPress and other giant blogs like Mashable have multiple subdivisions like culture, tech, entertainment, science, etc. But since you want to start a blog, you must be having an idea or topic in your mind.
Structure and Characteristic of a blog
Since you are planning on starting a blog, you need to understand the fundaments of it first. There is no structure to a blog. It does follow a similar approach and has similar characteristics, but it can always be different.

Basic Blog Structure by FirstSiteGuide.com.
A blog contains multiple parts and these parts collectively make a blog page. They can be altered as per your wish as well.
Header

This is where the title of the website goes along with the navigation menu and other options. This mostly stays the same across the website as it helps the user in navigating through the website quickly.
Content Area
This is where your posts and blog articles are displayed. It is the most dynamically updated part of the blog page and mostly follows the same structure. It can contain images, videos, links, infographics and almost anything that you want to be displayed in the blog post.

Sidebars
The sidebars are the section where you would mostly find the social accounts links, call to action or CTAs or the blog list of a specific category.
They can be easily altered and mostly have links to the most engaging and compelling content on the website to make the visitor stay longer. They usually stay same across the website.

Footer
This is the bottom-most part of the website and consists of the relevant link in the website. It mostly comprises of the privacy policy, disclaimers, contact page, about us page, etc. It is also an essential part of the page and must contain relevant links.
Archive page(s)
Have you ever looked at the front page of a blog? It has a common list or archive of the blogs on the page. Mostly you will see the recent articles first and links to other articles as well. But that is not it.
You need not necessarily require to have your front page as your blog page. You can have a separate blog page or even multiple archive pages depending on your content flow.
This is what a basic structure of a blog looks like, and every blog must have these parts. There are many other parts that you will see nowadays such as the comments section, which can be used to get the user’s feedback and reviews etc.
Okay! So now you must be having a COMPLETE understanding of how a blog works and what a blog is.
Now we can go to the second part of this article which is learning how to start a blog in no time.
How to Start a Blog?
If you are here to know the technical steps to start a blog, then you can click here to jump to that part directly.
Since starting a blog is more than just hosting and domain, we will be discussing that here first.
Steps to start a Blog
These are the steps that you need to follow to start your blog.
Step 1: Choose what you want to blog about first
This is what most of the time people skip when considering starting blogging as a career. And not necessarily but this is the reason why most of the times blogs fail. So, you first need to lay down what you like the most when it comes to sharing or teaching.

If you are not interested or passionate about what you will be blogging about, you are better off this as no matter how hard you try; you will never get optimum results as of what you will be putting in.
The interest or the passion we are talking about is called your “niche”. Your niche is the topic which you will be talking about.
Make sure your topic is interesting for others as well, and it must have plenty of room to talk about.
Step 2: Choose the blogging platform
So you have decided the niche but how you go for that niche is what you need to decide now. The thing we are talking about here is the platform for your blogging.
There are many great alternatives out there such as WordPress, Blogger, Squarespace, Wix, etc.
All platforms have their pros and cons, and I can give you a detailed comparison between the platforms but it will boil down to a single winner, and that is WordPress.

Why WordPress?
WordPress is flexible, has excellent functionality and there is a lot of customization that you can do with it. If you do not trust me, even the statistics say that WordPress powers almost every third website on the Internet when it comes to CMS. That’s a lot of websites!
Do you know?⠀
WordPress dominates 76.4% of #CMS market share!⠀#WordPressWednesday #WebDevelopment #WordPress #WednesdayWisdom #WP #WordpressFacts pic.twitter.com/Q14pQitedT— Solwin Infotech (@SolwinInfotech) July 4, 2018
But there are two versions to this Hosted and Self Hosted.
The hosted WordPress blogs are called the WordPress.com blogs. These blogs are free but will limit your customization and income potential.
The self-hosted ones are often referred to the WordPress.org blogs. They will cost you a couple of bucks, but they will give you better control on your blog and sets no bar on your income potential.
I will always recommend you to go for the self-hosted one, and if you are serious about blogging, then I would highly recommend you to go for the WordPress.org.
Also, in this tutorial, we will see how to set up a self-hosted WordPress blog.
Note: When I say, WordPress.org, it does not mean that your website’s name will end with .org as well. WordPress.org being a free software carries the .org signature, and you can go with whatever extension you want such as .com or .net
Okay! Let’s do this! Here comes the technical stuff. 😉
Here, basically, you need to buy the domain, go for the hosting and get it hosted on a hosting plan and install WordPress.
Step 3: Getting a Domain
Remember the first step which was deciding your niche? Well, this step is going to reflect a lot what you did in step 1.

Well, in simple terms, domain is your website name. For example, WPblogdesigner is the domain name and .net is the extension and collectively they make the website address or the URL.
As domain name will be your brand identity, you need to look for it with utmost care. You can go to any domain name registrar such as GoDaddy, Bluehost or Hostgator.
Getting a domain name is easy. You look for your desired domain, check the availability, fill in the details, and make the payment. That’s it!
When looking for a domain name, make sure that you know your brand or niche very well. Your domain name should be simple and should represent your brand. Try to go for 2-4 word domain as unfortunately almost all the single word domains are taken. Try to avoid using numbers and hyphens while naming your blog as they are hard to remember and look for something catchy.
If you are looking for a blog page for your existing business or brand, try to go for the business name if it is available and if it is not available, try to make its variation.
Step 4: Getting a Hosting Plan
The hosting is the server where your website will be hosted, or if I try to put it in simpler words, hosting is the house of your website. Your domain lives on the servers which are the hosts of your website.
Get it?
Well, since we are working with the self-hosted version (WordPress.org), we will need the host as well.

There are a couple of good hosting companies out there, and the prices vary between $3-$500. Honestly, you do not need anything sassy here right now. You can go for the plan that you feel is worth it and when your blog reaches 25000 monthly visitors, you can upgrade to a better plan.
SiteGround is the hosting companies and plans that we recommend on WPBlogDesigner. Take a look and choose the one that you find useful.
Step 5: Installing WordPress
Well, you have done all the dirty part by now, and all that is left here is the installation. If you decided to go with a reputable hosting service such as Bluehost or Hostgator, you could ask them to install the WordPress, and they will happily do it for you free of cost.
But, if you decided to do it yourself, first of all, login to your hosting account. Now look for the Cpanel and then click on the Install WordPress button.
Enter the details required there such as blog name and website and that is it!
The WordPress will be installed on the website!
Now go to your domain and add /wp-admin at the end for example-
www.yourdomain.com/wp-admin
And you will be able to log in to your website by entering the login credentials.
Step 6: Designing your blog
Now you have done all the technical stuff required to launch a blog. It is now time to make it look more appealing.

There are two primary things in WordPress – Themes and Plugins
Themes are what that makes up the whole design of the website. They can be easily applied and installed using the WordPress Dashboard. There are both free and premium themes that you can go for depending on your styling needs. Here we want to suggest a perfect blogging theme Bloggers lite for beginners to intermediate bloggers.
On the other hand, Plugins performs various functions ranging from providing security and backups to beautifying your blog as well.
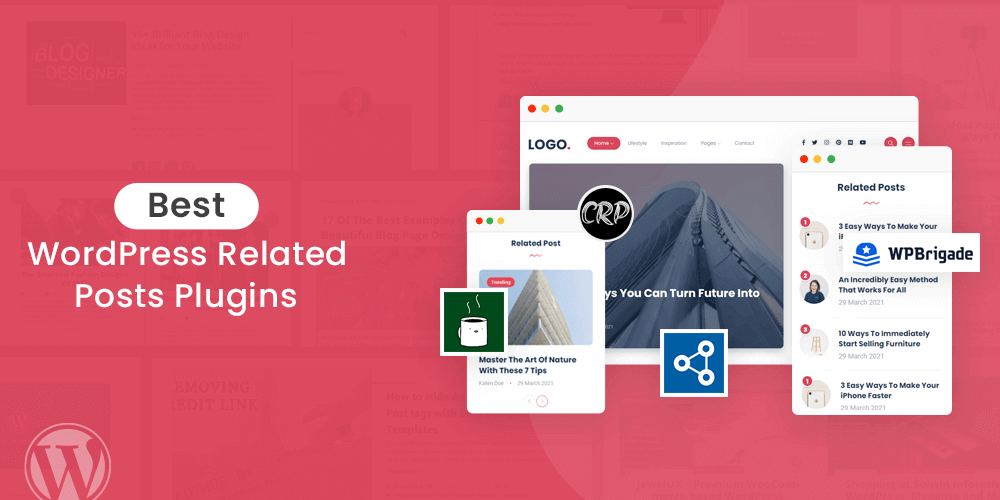
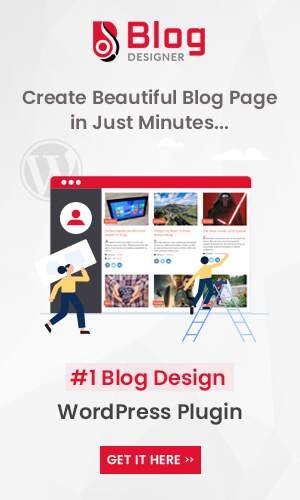
When it comes to enhancing the look of your blog, the themes kind of limit you when it comes to designing. Well, a better alternative to that is the BlogDesigner plugin. This tool comes with more than 40 blog layouts that you can create and with this tool you can customize almost every part of your blog layout easily.

There are 2 variants to this tool – free and premium. You can go with any version you want, and you will be able to make the changes as per your wish with the plugin. It is a great plugin and you will have a hard time looking for anything even close to what this plugin offers.
You can check out the Blog Designer Demo here.
Step 7: Publishing your first post
Now since you have taken care of all the aspects of the website, whether it be the design aspect or the technical aspect, it is now time to do the part for which every bit was done and that is publishing your first post.

Well, it does matter what your first post is going to be as it tells the users about the work that you will be putting in the future. But do not let this delay your task of posting your first post. Remember, it is all about taking the first step and giving your blog the momentum which is needed.
Go ahead and publish the blog that you have been waiting for so. Here is how you can do that-
Log in to your WP Admin dashboard and then go to Posts. Now click on the Add New button to add a new post.

Give your post a proper title, content, metadata, etc. and when you are done, click on the Publish button to the right.
Congratulations! You have finally published your first blog!
Now, you can start publishing more content on your blog.
What to do next?
Well since now you have your website populated with blogs, you now need to make the noise and make people aware of the blog’s presence. There are many things you can do in this sector, and you can learn some of the tactics here.
What are you passionate about and what was that trigger that made you start your blog? Share with us by commenting down below!


Great post mate and u explained everything that can be easily understandable by beginners.
Thanks! I appreciate the support and kind words.